Getting Started
Let’s set up your first Fresh project. To create a new project, run this command:
deno run -Ar jsr:@fresh/initThis will spawn a short wizard that guides you through the setup, like the project name, if you want to use tailwindcss and if you’re using vscode. Your project folder should look like this:
<project root>
├── components/         # Store other components here. Can be named differently
│   └── Button.tsx
├── islands/            # Components that need JS to run client-side
│   └── Counter.tsx
├── routes/             # [File system based routes](/docs/concepts/file-routing)
│   ├── api/
│   │   └── [name].tsx  # API route for /api/:name
│   ├── [_app.tsx](/docs/concepts/app)        # Renders the outer <html> content structure
│   └── index.tsx       # Renders /
├── static/             # Contains static assets like css, logos, etc
│   └── ...
│
├── client.ts       # Client entry file that's loaded on every page.
├── main.ts         # The server entry file of your app
├── deno.json       # Contains dependencies, tasks, etc
└── [vite.config.ts](/docs/advanced/vite)  # Vite configuration file
Path aliases
Your new project comes with a @/ path alias pre-configured in deno.json.
This allows you to use absolute imports from your project root instead of
relative paths:
// With @/ alias
import { define } from "@/utils.ts";
import { Button } from "@/components/Button.tsx";

// Without alias (relative paths)
import { define } from "../utils.ts";
import { Button } from "../components/Button.tsx";
The @/ alias is configured in your deno.json imports section:
{
  "imports": {
    "@/": "./"
    // ... other imports
  }
}
This makes imports cleaner and easier to refactor, especially as your project grows.
Run the dev task to launch your app in development mode:
deno task devGo to the URL printed in the terminal to view your app.

InfoIf you encounter any problems during setup or development, check the troubleshooting guide for common issues and solutions.
Creating our first route
Let’s create a new about page at /about. We can do that by adding a new file
at routes/about.tsx.
import { define } from "@/utils.ts";

export default define.page(() => {
  return (
    <main>
      <h1>About</h1>
      <p>This is the about page.</p>
    </main>
  );
});
If we navigate to /about in the browser we’ll see our newly created page.

Create an island
We’re going to create a countdown component that requires JavaScript to function in the browser.
Create a new file at islands/Countdown.tsx
import { useSignal } from "@preact/signals";
import { useEffect } from "preact/hooks";
export function Countdown() {
const count = useSignal(10);
useEffect(() => {
const timer = setInterval(() => {
if (count.value <= 0) {
clearInterval(timer);
}
count.value -= 1;
}, 1000);
return () => clearInterval(timer);
}, []);
if (count.value <= 0) {
return <p>Countdown: 🎉</p>;
}
return <p>Countdown: {count}</p>;
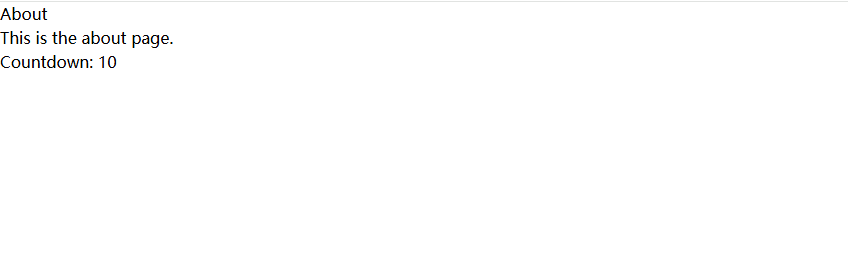
}Let’s add the countdown to our about page:
import { define } from "@/utils.ts";
import { Countdown } from "@/islands/Countdown.tsx";

export default define.page(() => {
  return (
    <main>
      <h1>About</h1>
      <p>This is the about page.</p>
      <Countdown />
    </main>
  );
});
Now, we can see our countdown in action:
Next steps
Now that you have a working Fresh project, here are some things to explore:
- Routing - Learn about route patterns, dynamic parameters, and method-specific handlers
- Data Fetching - Load data on the server and pass it to page components
- Islands - Understand how Fresh’s partial hydration works and what can be passed as props
- Middleware - Add authentication, logging, or custom headers to your routes
- Architecture - See how requests flow through the entire framework